


Making a beehive can be a challenging project, but it can be a rewarding and satisfying experience. Here are some basic steps to follow to make a beehive:
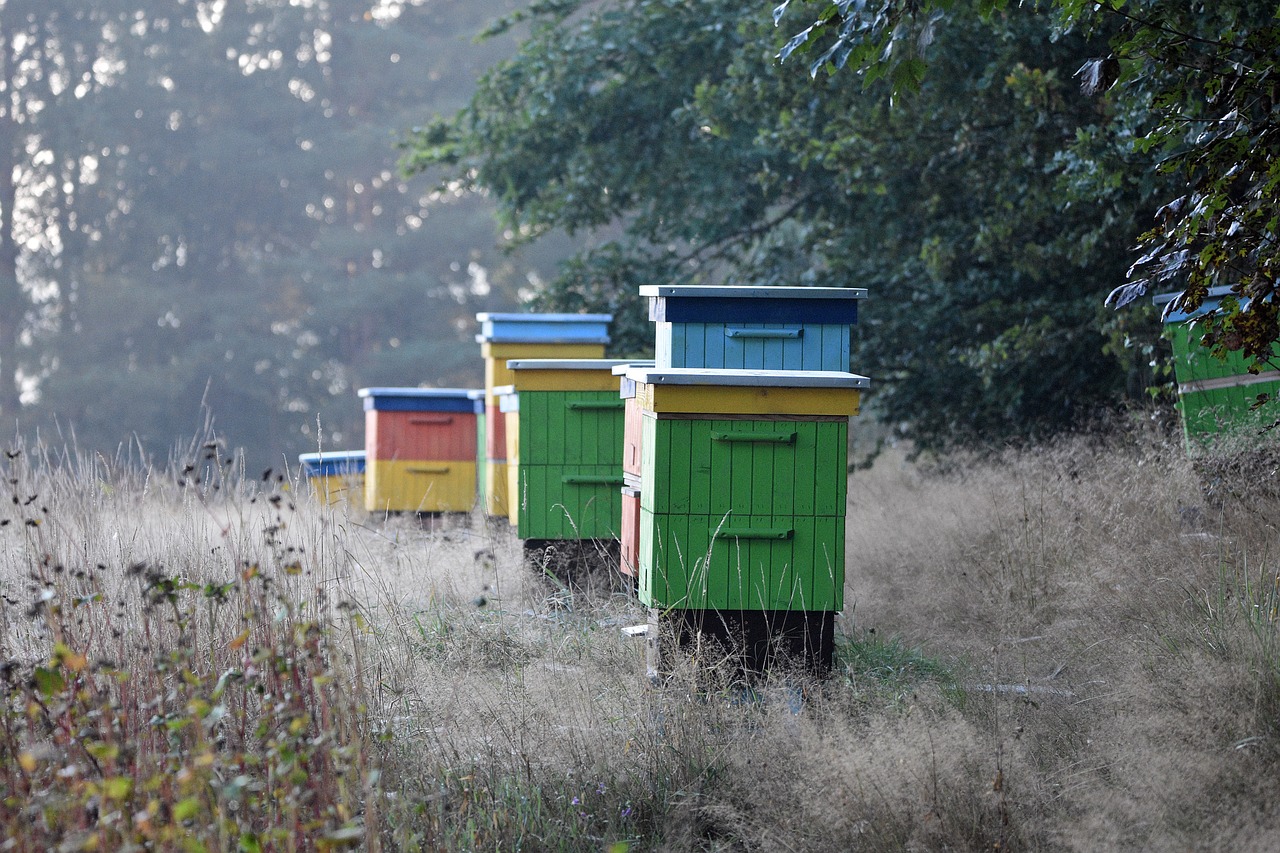
- Choose a design: There are several types of beehive designs to choose from, including Langstroth, top bar, and Warre hives. Each design has its own advantages and disadvantages, so it’s important to research and choose the design that will best suit your needs.
- Gather materials: The materials needed to make a beehive will depend on the chosen design, but typically include wood, nails or screws, glue, and hardware such as hinges and latches.
- Cut the wood: Once the materials have been gathered, the wood will need to be cut to the appropriate size and shape for the hive components. A saw and measuring tools will be needed for this step.
- Assemble the hive: Once the wood has been cut, it can be assembled using nails or screws and glue. It’s important to ensure that the joints are tight and secure to prevent any gaps that could allow bees to escape.
- Install hardware: Once the hive is assembled, any necessary hardware such as hinges and latches can be installed.
- Paint or stain the hive: The final step in making a beehive is to paint or stain it. This will help to protect the wood from weather and other elements, and can also help to identify the hive if multiple hives are kept in the same area.
Making a beehive can be a challenging project, but with some basic woodworking skills and the right tools and materials, it can be a rewarding experience. It’s important to ensure that the hive is well-built and secure to protect the bees and provide a productive environment for honey production.