Here are some general steps for planting kale:
- Choose the right time: Kale is a cool-season crop that prefers temperatures between 60-65°F (15-18°C). It can be grown in both spring and fall, but it is best to avoid planting during the hottest months of summer.
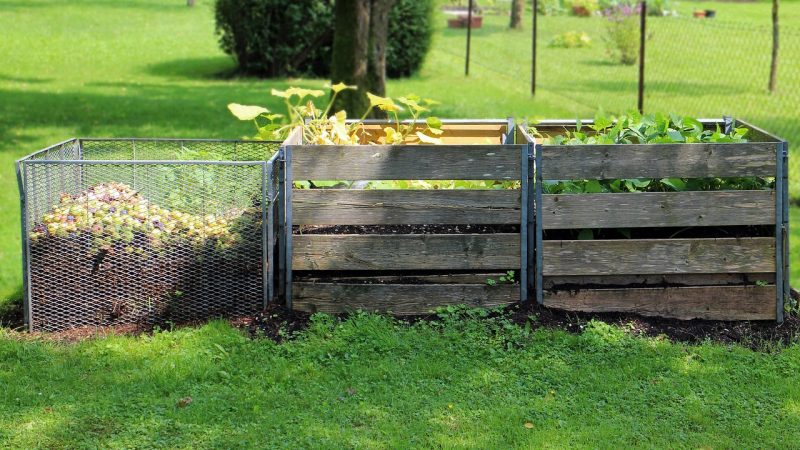
- Prepare the soil: Kale prefers well-drained soil that is rich in organic matter. Work compost or well-rotted manure into the soil before planting to improve fertility and drainage.
- Plant the seeds: Sow the seeds directly into the garden bed, or start them indoors 6-8 weeks before the last frost date. Plant the seeds ¼ to ½ inch deep and 12-18 inches apart, depending on the variety.
- Water regularly: Keep the soil evenly moist throughout the growing season, especially during dry spells. Water deeply once or twice a week, depending on the weather.
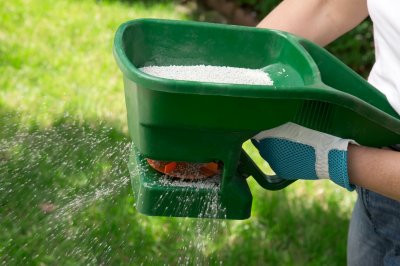
- Fertilize as needed: Kale is a heavy feeder, so it may benefit from additional fertilizer throughout the growing season. Side-dress the plants with compost or a balanced fertilizer every 4-6 weeks.
- Control pests and diseases: Kale can be susceptible to pests like aphids, flea beetles, and cabbage worms, as well as diseases like clubroot and downy mildew. Monitor your plants regularly and treat any issues promptly with insecticidal soap or other organic remedies.
- Harvest the leaves: Kale leaves can be harvested when they reach full size, or you can harvest smaller leaves for baby greens. Cut the leaves off the stem with a sharp knife or scissors, leaving a few leaves on the plant to continue growing.
By following these steps, you can enjoy a bountiful harvest of nutritious and delicious kale from your garden.


